

Back up Windows to the cloud with PowerShell in 10 steps
Published 29 July 2026 · 10 steps · ← Blog
How to back up Windows to the cloud with PowerShell: ten short steps from zero to an automatic, end-to-end encrypted backup that runs as a scheduled task. Every PowerShell command is ready to copy.
Step 1: Sign up
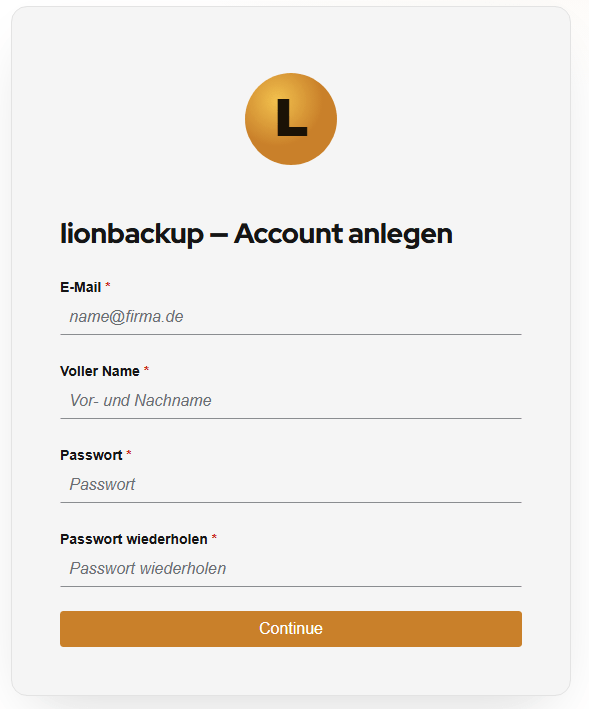
Sign up at portal.lionbackup.cloud. After confirming your email address and setting up the mandatory two-factor authentication (TOTP), you are ready to go. There is no base fee; you pay for what you store.
Step 2: Create an organisation and a project
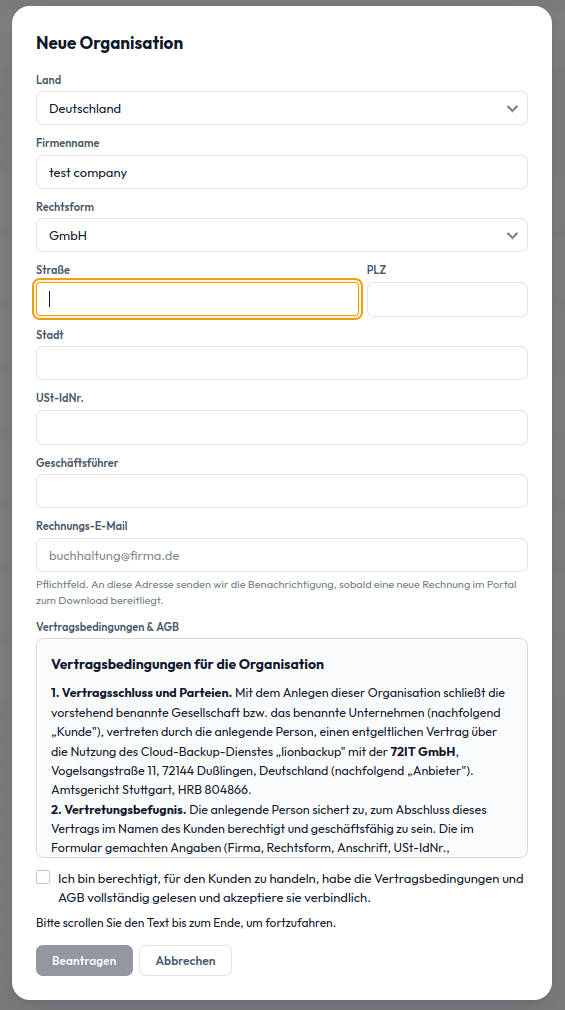
In the portal, first create your organisation (company details for the invoice), then a project, for example “Office backup”. Every project has its own project UUID; you need it in step 7.
Step 3: Create a write token
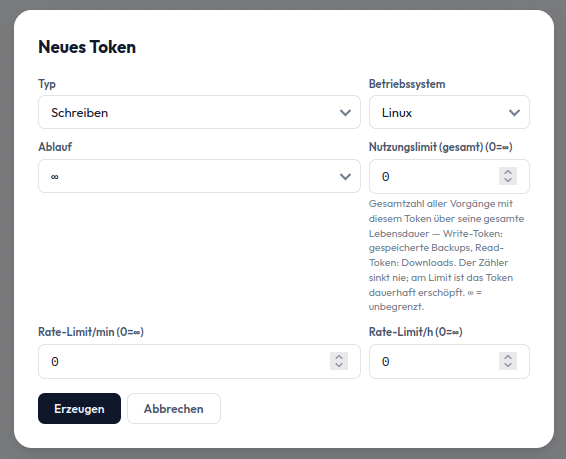
In the project, create a write token. lionbackup separates strictly: a write token can only back up, it can never read or restore. Even if it is stolen, your backups stay unreadable.
Step 4: Create the folder structure
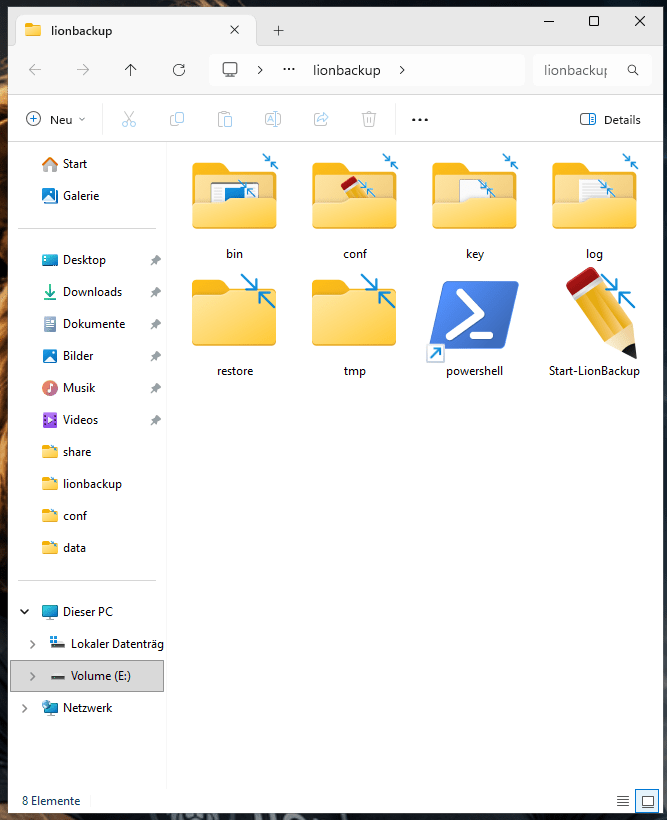
We use a fixed, tidy structure under C:\lionbackup:
New-Item -ItemType Directory -Force -Path C:\lionbackup\bin,C:\lionbackup\conf,C:\lionbackup\key,C:\lionbackup\log,C:\lionbackup\tmp | Out-Null| Folder | Purpose | Size | Recommended medium |
|---|---|---|---|
bin | the client program | ~10 MB | any (internal disk) |
conf | configuration files | < 1 MB | any |
key | key pair | < 1 MB | any, but keep a copy elsewhere! (step 6) |
log | logs | a few MB | any |
tmp | working area: compression and encryption happen here | ≥ 1.2× your largest backup | internal SSD/NVMe: the faster, the faster the backup. No USB stick, no network drive |
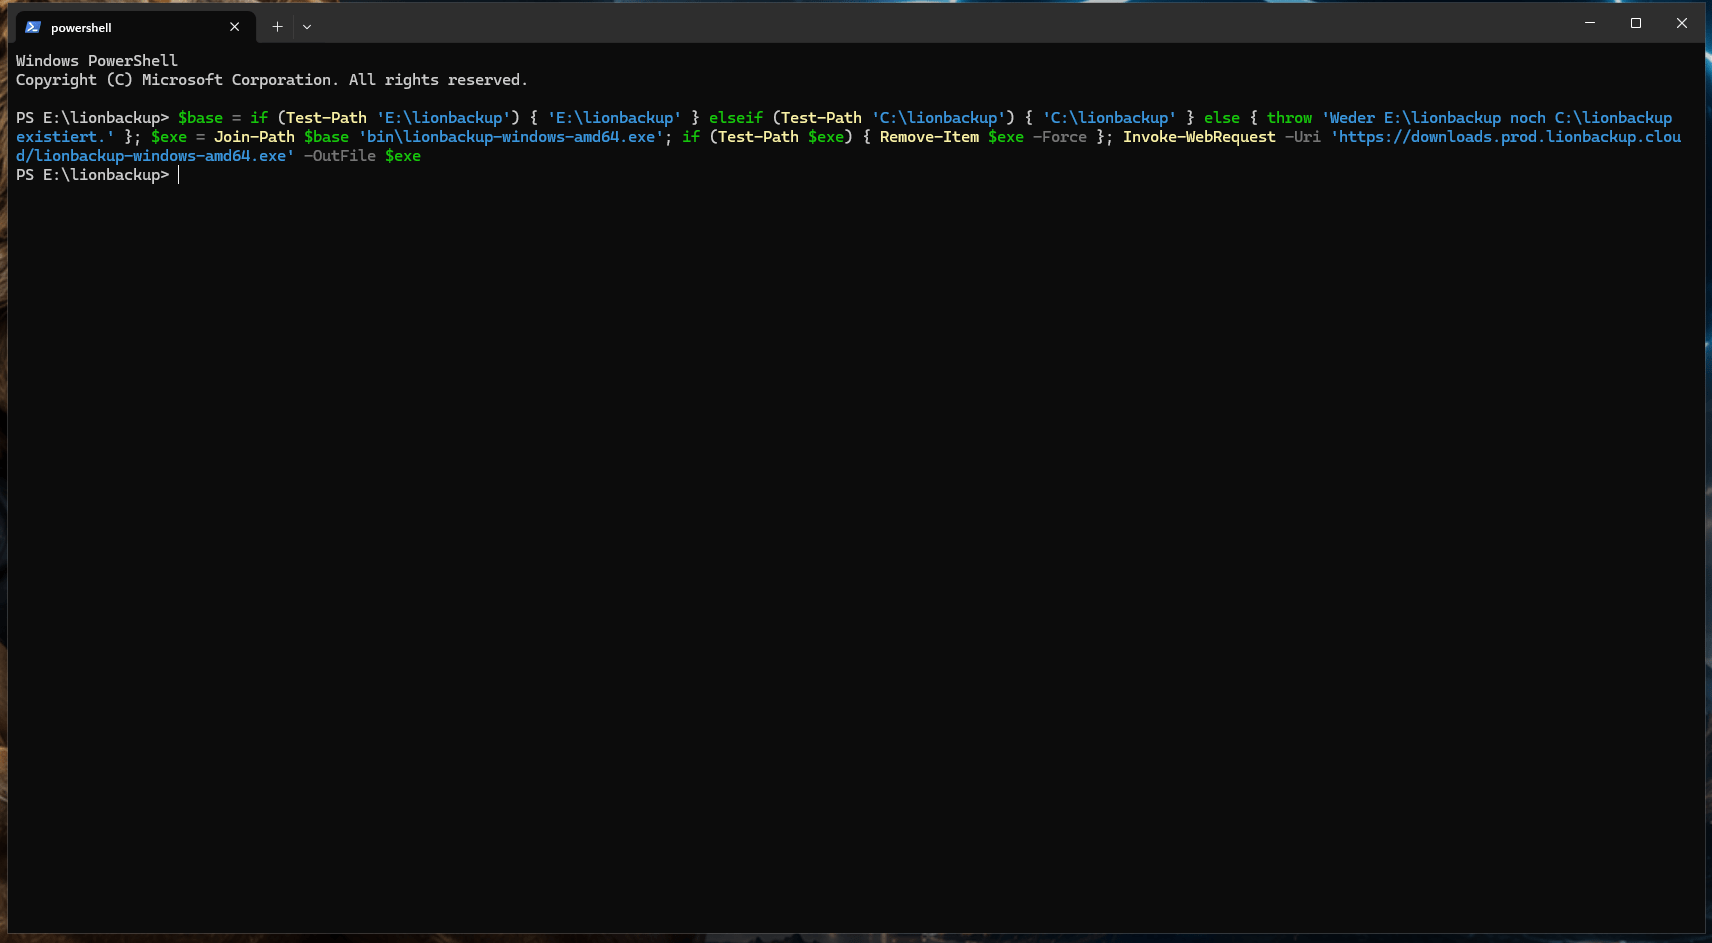
Step 5: Download the lionbackup client
Download the official Windows client straight from our download server:
Invoke-WebRequest -Uri https://downloads.prod.lionbackup.cloud/lionbackup-windows-amd64.exe -OutFile C:\lionbackup\bin\lionbackup-client.exeThe client is open source: source code on git.lionbackup.cloud.
Step 6: Generate a key pair
Your backups are encrypted on your own computer before they leave the building. For that, generate a key pair once:
C:\lionbackup\bin\lionbackup-client.exe --keygen --output C:\lionbackup\key\lionbackupThis creates two files: lionbackup.pub (public key, encrypts your backups) and lionbackup.key (private key).
lionbackup.key to a USB stick or a password manager now and keep it apart from the computer. The backup does not need it, but without it no restore is possible. We cannot recover it either: your keys, your data.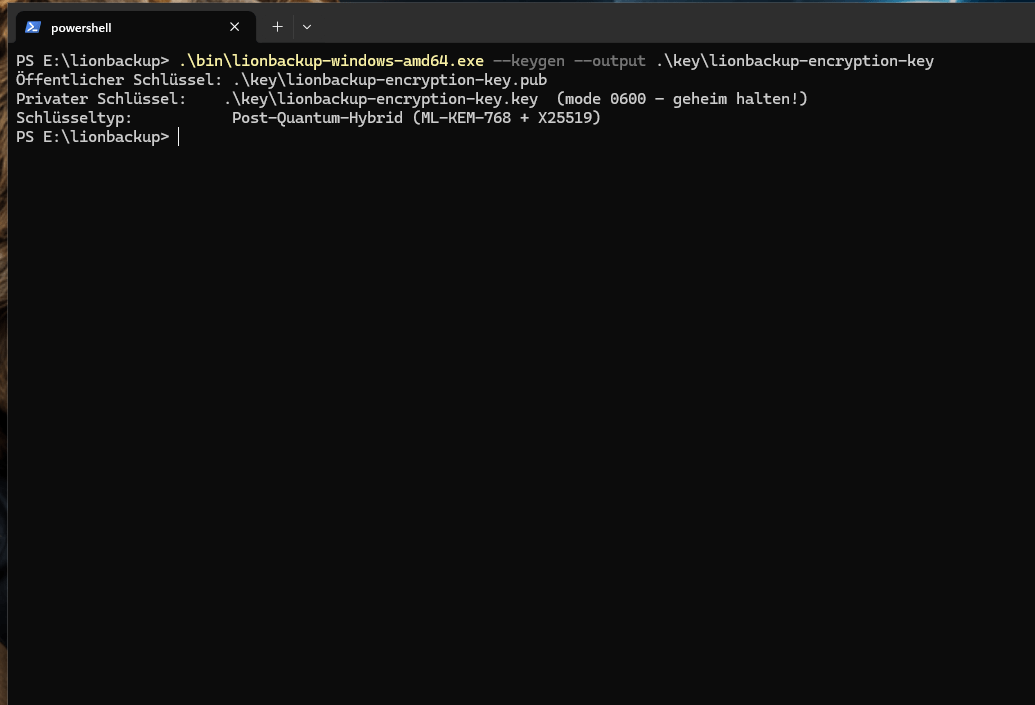
Step 7: Write the configuration file
Create C:\lionbackup\conf\backup.yaml (for example in Notepad) and replace the three placeholders. Important: all settings sit under the root key lionbackup:, each indented by two spaces:
lionbackup:
  environment: prod
  storagezone: "YOUR-STORAGE-ZONE"
  project: "YOUR-PROJECT-UUID"
  token: "YOUR-WRITE-TOKEN"
  files:
    - C:\Users\YourName\Documents
  encryption_keyfile: C:\lionbackup\key\lionbackup.pub
  tmp_directory: C:\lionbackup\tmp
  log_directory: C:\lionbackup\log
  compression_method: ZSTD
  compression_level: 6
  on_read_error: warn
  resume: true
require_https: true| Parameter | Meaning |
|---|---|
environment | target environment, always prod for customers |
storagezone | your storage zone (shown in the portal), for example de01-1 |
project | the project UUID from step 2 |
token | the write token from step 3 |
files | files and folders to back up (one per line) |
encryption_keyfile | path to the public key (.pub) from step 6 |
tmp_directory | working area (step 4: large and fast) |
log_directory | where the logs go |
compression_method | ZSTD (recommended), GZIP or LZMA2 |
compression_level | 0 to 9; higher means smaller but slower (6 is a good compromise) |
on_read_error | warn (default): skip and report unreadable files; abort: stop hard |
resume | continue interrupted uploads on the next run |
require_https | encrypted connections only (always true) |
Step 8: Run a backup
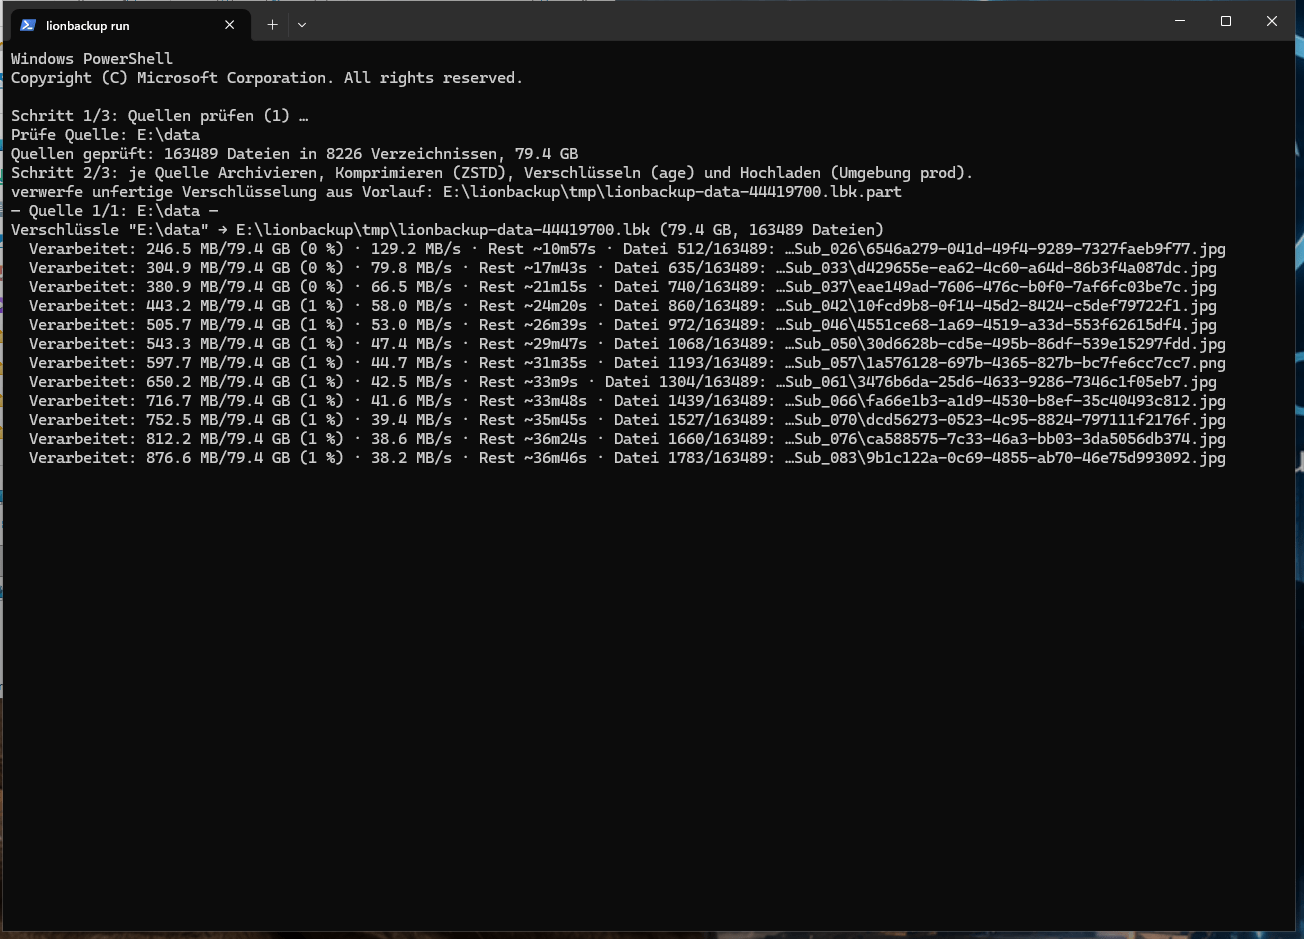
The first run:
C:\lionbackup\bin\lionbackup-client.exe --config C:\lionbackup\conf\backup.yaml --progress-barThe client explains every step: checking the sources (with a running count), then archiving, compressing, encrypting and uploading each source, then done. It skips Windows special folders (for example the hidden junctions in Documents) automatically and says so. Its output is in German for now.
Step 9: Optional: desktop shortcut
For a convenient manual start:
$s=(New-Object -ComObject WScript.Shell).CreateShortcut("$([Environment]::GetFolderPath('Desktop'))\lionbackup Backup.lnk");$s.TargetPath='C:\lionbackup\bin\lionbackup-client.exe';$s.Arguments='--config C:\lionbackup\conf\backup.yaml --progress-bar';$s.WorkingDirectory='C:\lionbackup';$s.Save()Step 10: Optional: automatic schedule
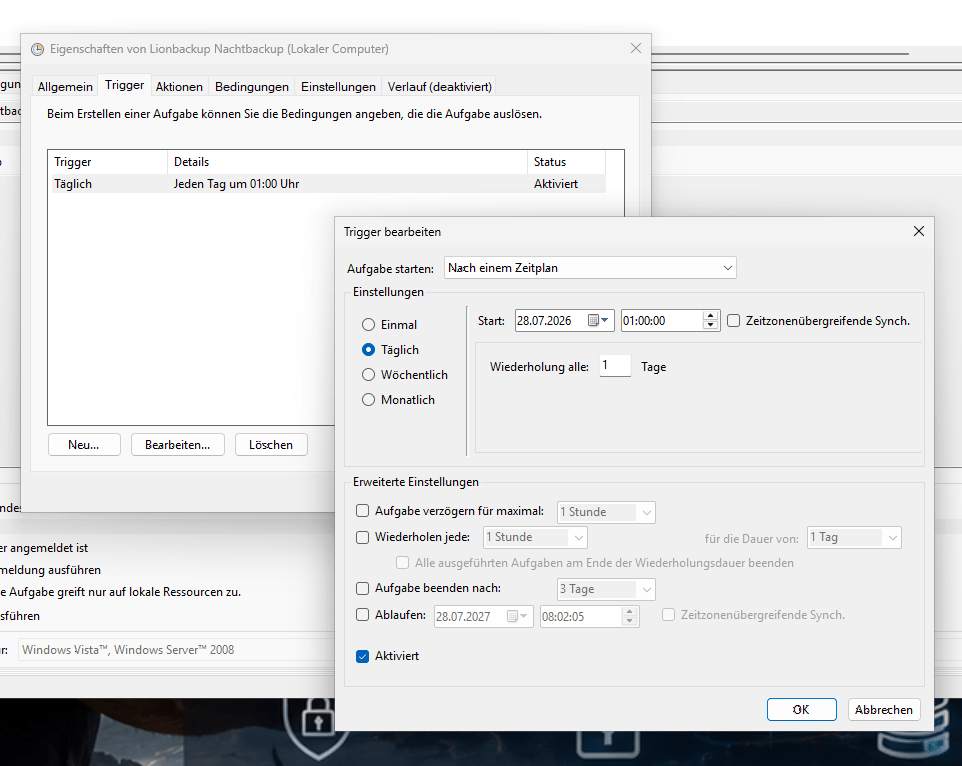
Back up automatically: pick the rhythm and the time, and the command below adapts at once (PowerShell as administrator):
Register-ScheduledTask -TaskName "lionbackup Backup" -Action (New-ScheduledTaskAction -Execute 'C:\lionbackup\bin\lionbackup-client.exe' -Argument '--config C:\lionbackup\conf\backup.yaml') -Trigger (New-ScheduledTaskTrigger -Daily -At 20:00) -RunLevel Highest -Settings (New-ScheduledTaskSettingsSet -WakeToRun -AllowStartIfOnBatteries -DontStopIfGoingOnBatteries -StartWhenAvailable) -Description "Daily lionbackup backup"Done. From now on your computer backs up automatically, encrypted end to end, to a sovereign European cloud location of your choice. 🎉
Backing up a server? What changes there (shadow copies, rights, databases, Hyper-V) is on the page Windows Server cloud backup, and how to restore is in Restore a Windows backup from the cloud.
Can we support you with the setup? Book a free appointment.