

Restore a Windows backup from the cloud in 7 steps
Published 29 July 2026 · 7 steps · ← Blog
How to restore a Windows backup from the cloud: seven steps from an empty machine to the restored folder structure, with strictly separate read and write tokens and your private key.
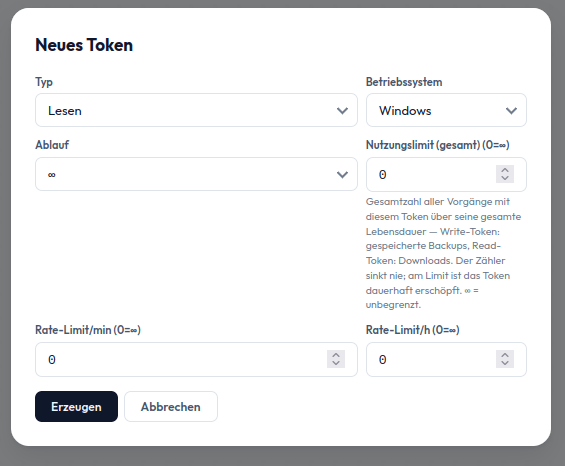
Step 1: Create a read token in the portal
To restore, you need a read token, created in the same project as the write token. The strict separation is deliberate: the computer that backs up every day only holds the write token and cannot read anything; you create the read token only when you need it.
Step 2: Create the folder structure
On the computer you restore to, use the same structure as for the installation:
New-Item -ItemType Directory -Force -Path C:\lionbackup\bin,C:\lionbackup\conf,C:\lionbackup\key,C:\lionbackup\log,C:\lionbackup\tmp | Out-Null| Folder | Purpose | Size | Recommended medium |
|---|---|---|---|
bin | the client program | ~10 MB | any (internal disk) |
conf | configuration files | < 1 MB | any |
key | stays empty: the private key comes from the USB stick (step 5) | – | – |
log | logs | a few MB | any |
tmp | working area: download and decryption happen here | ≥ 1.2× your largest backup | internal SSD/NVMe: the faster, the faster the restore. No USB stick, no network drive |
Step 3: Download the lionbackup client
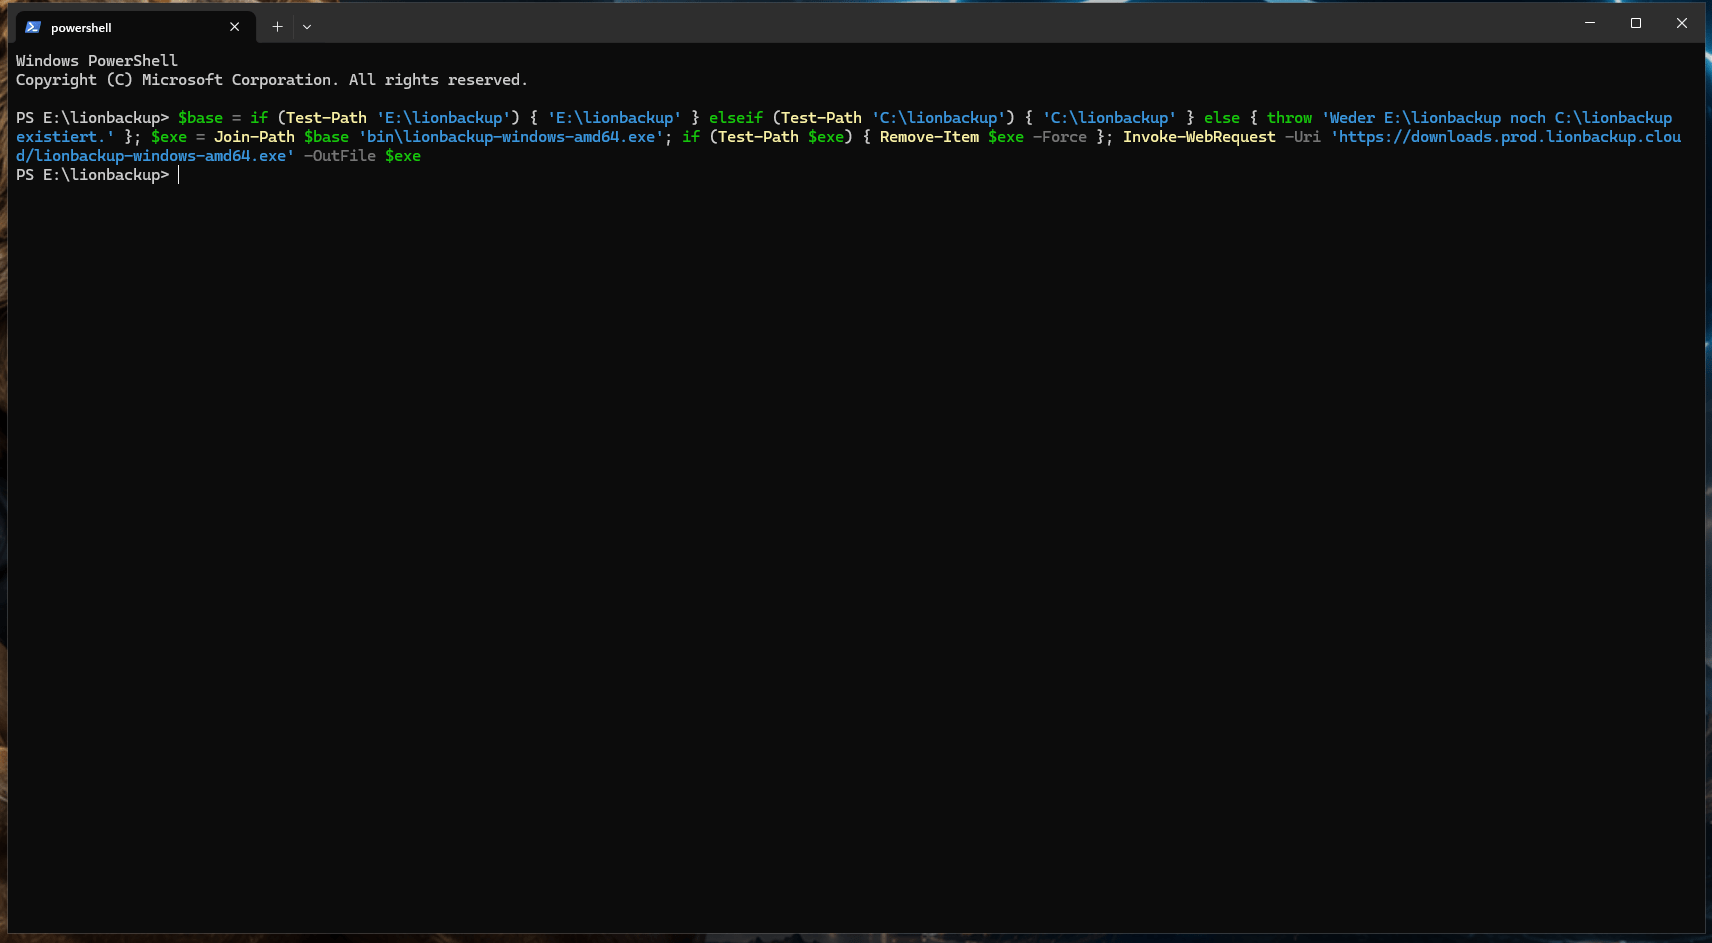
Client not installed yet? On a fresh machine, download the official Windows client straight from our download server:
Invoke-WebRequest -Uri https://downloads.prod.lionbackup.cloud/lionbackup-windows-amd64.exe -OutFile C:\lionbackup\bin\lionbackup-client.exeAlready installed (for example when you restore on the backup computer itself)? Then go straight to step 4. The setup in detail: Back up Windows to the cloud with PowerShell.
Step 4: Write the restore configuration
Create C:\lionbackup\conf\restore.yaml:
lionbackup:
  environment: prod
  storagezone: "YOUR-STORAGE-ZONE"
  project: "YOUR-PROJECT-UUID"
  token: "YOUR-READ-TOKEN"
  tmp_directory: C:\lionbackup\tmp
  log_directory: C:\lionbackup\log
require_https: true| Parameter | Meaning |
|---|---|
environment / storagezone / project | as for the backup: the same project |
token | the read token from step 1 |
tmp_directory | temporary space for the download: large and fast |
log_directory | logs |
require_https | always true |
The restore configuration does not need a files: list.
Step 5: Have the private key ready
Plug in the USB stick with your lionbackup.key (the copy you made during the installation). The client can use the key straight from the stick.
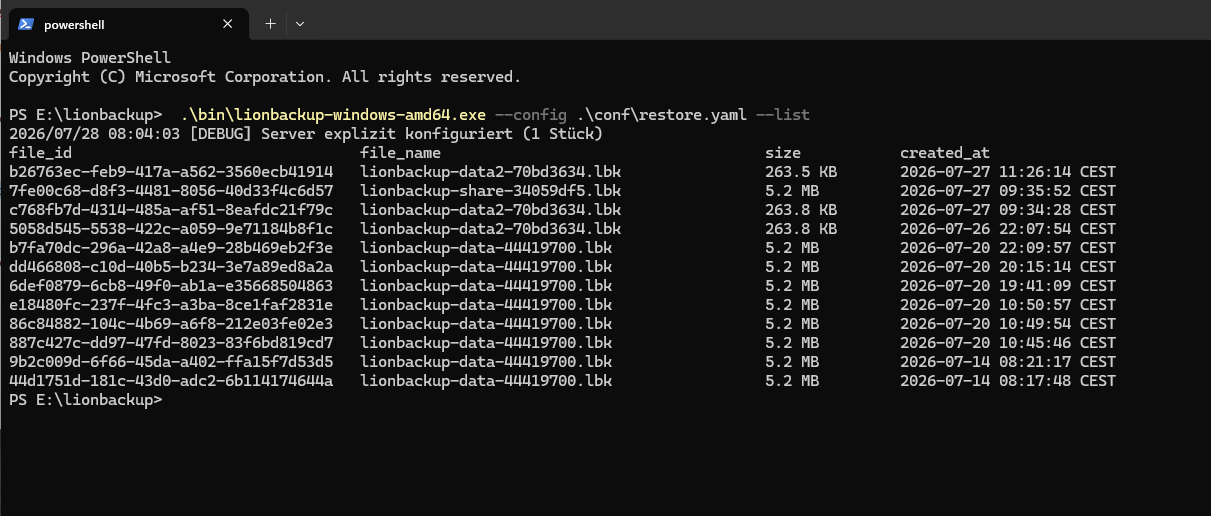
Step 6: List the backups
Which backups are there?
C:\lionbackup\bin\lionbackup-client.exe --config C:\lionbackup\conf\restore.yaml --listThe output shows the file_id, name, size and time of every backup. Note the file_id of the version you want.
Step 7: Download and decrypt the backup
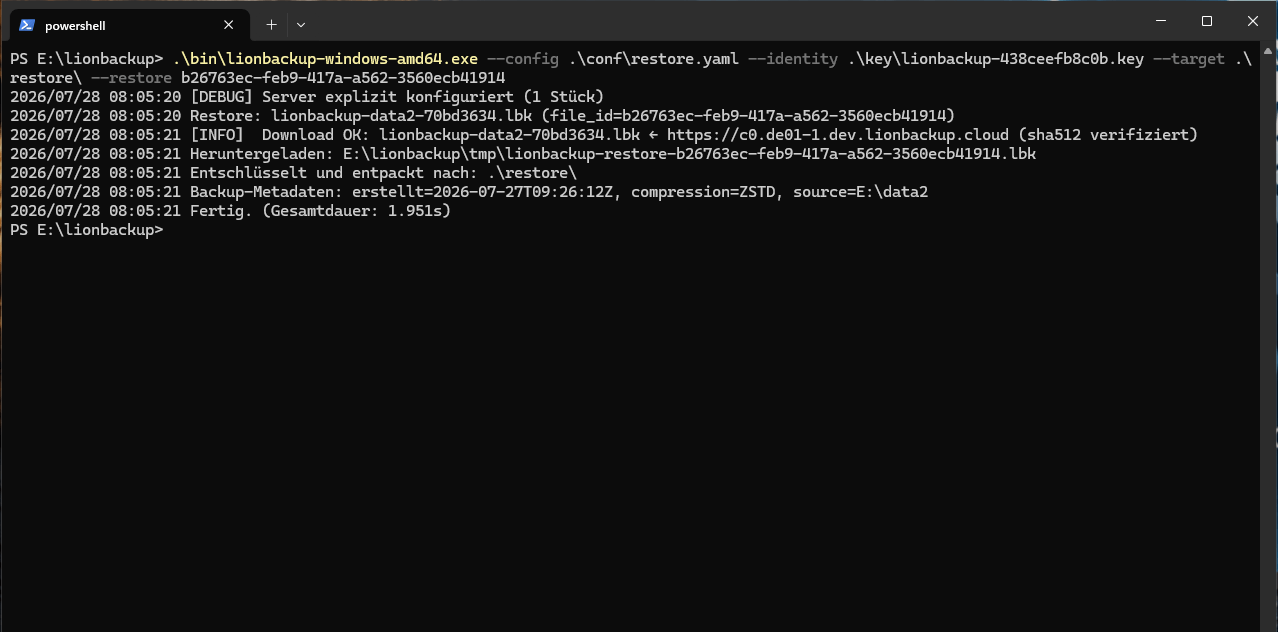
Restore into a target folder (the USB stick is drive E: here):
C:\lionbackup\bin\lionbackup-client.exe --config C:\lionbackup\conf\restore.yaml --restore YOUR-FILE-ID --identity E:\lionbackup.key --target C:\lionbackup\tmp\restore --progress-barThe client downloads the backup, checks its integrity, decrypts it and unpacks it to C:\lionbackup\tmp\restore, where your folder structure sits exactly as it was backed up. Done. 🎉
How to back up and restore whole Windows servers is on the page Windows Server cloud backup; for Hyper-V VMs see Restoring a Hyper-V VM from the cloud.
Test a restore once before you need it. Can we support you? Book a free appointment.